1/20/2025- Groundbreaking (4/26/2020)
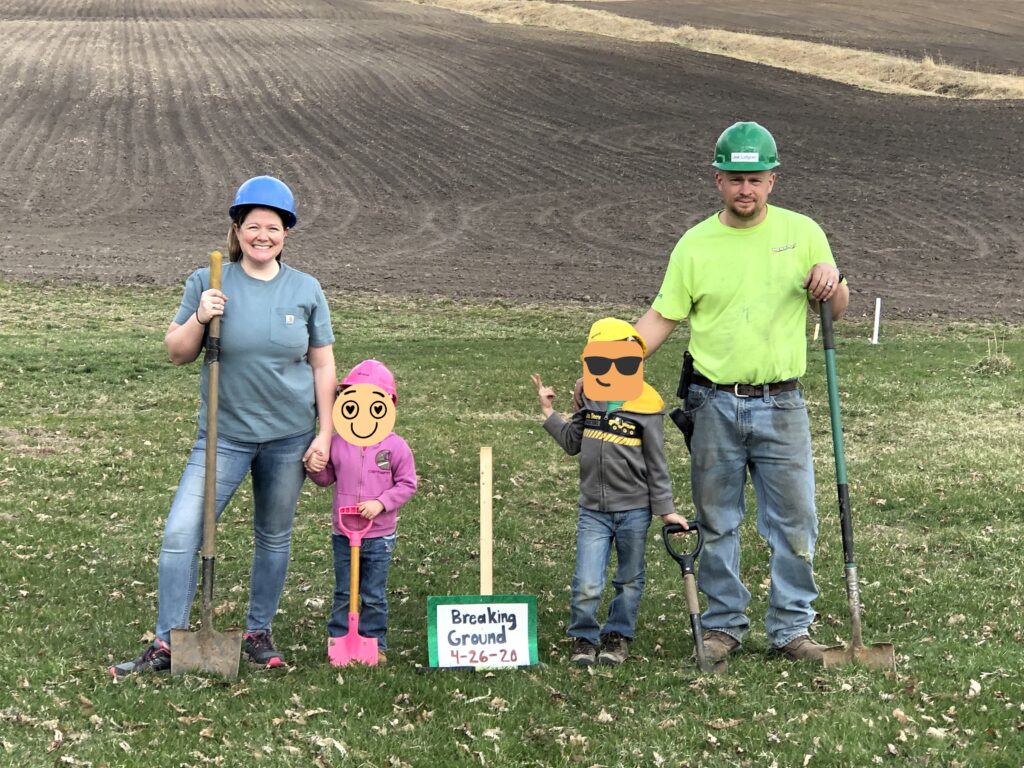
In April of 2020, my family and I broke ground on our farm to start building our forever home. We had been designing our plans for a few years and were now ready to start the adventure. We had no idea we would still be building today but our goal has always been to do it right the first time. Plus, did I mention my husband is an engineer and a farmer. He was already spread thin before we started and now he’s added a third full time job with being the contractor. We are doing a great deal of the work ourselves and although it has been a slow process, it has also been very rewarding along the way. Every little accomplishment is that much more exciting because we have put so much of ourselves into it. When we tell people we have put our “blood, sweat, and tears” into it, we mean it literally. I’m going to share our journey from the very beginning so hopefully you can learn from our mistakes and successes or if nothing else be a little entertained.
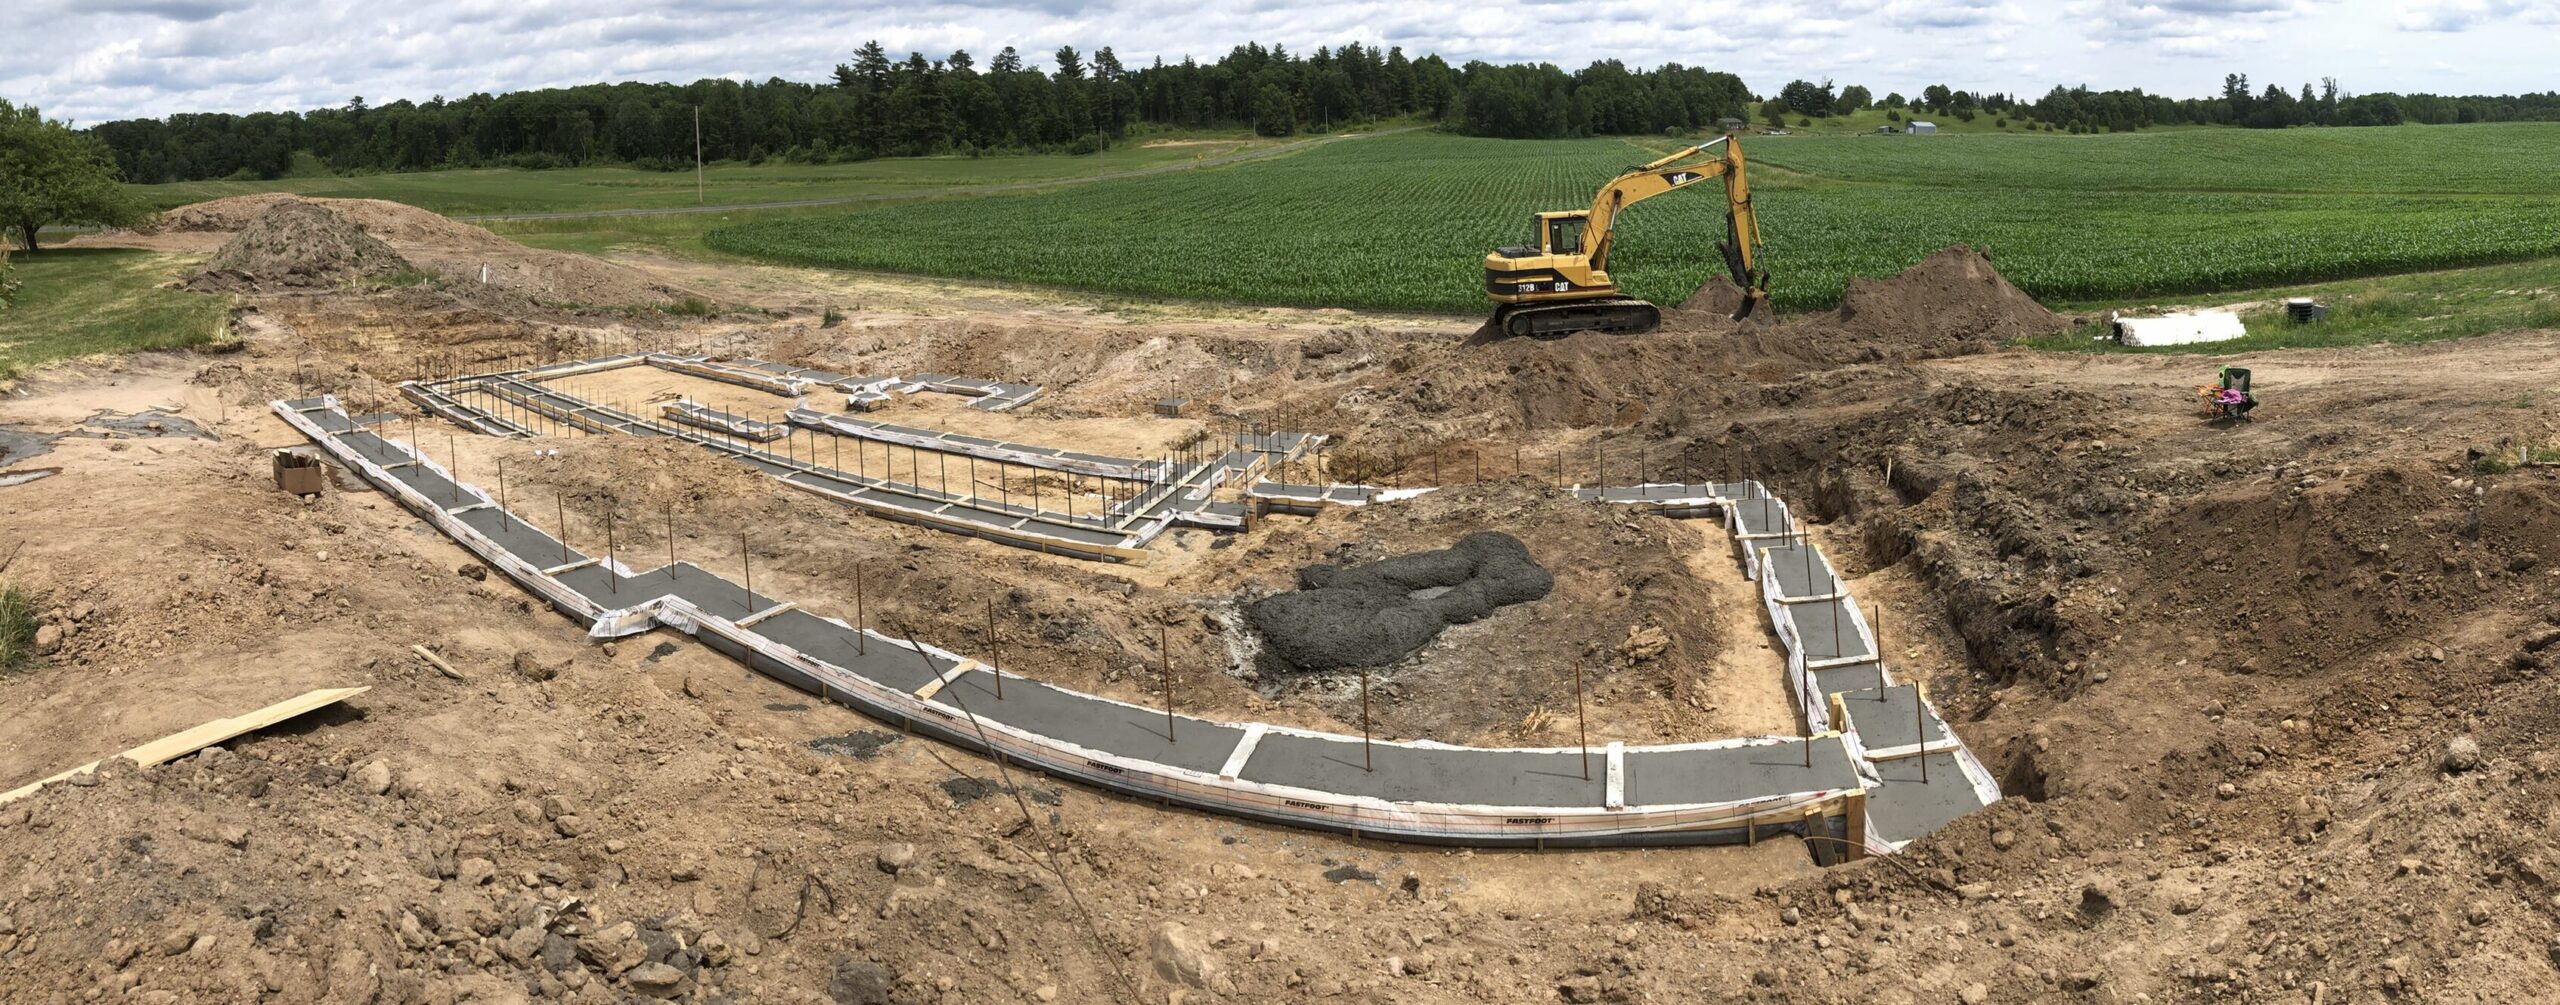
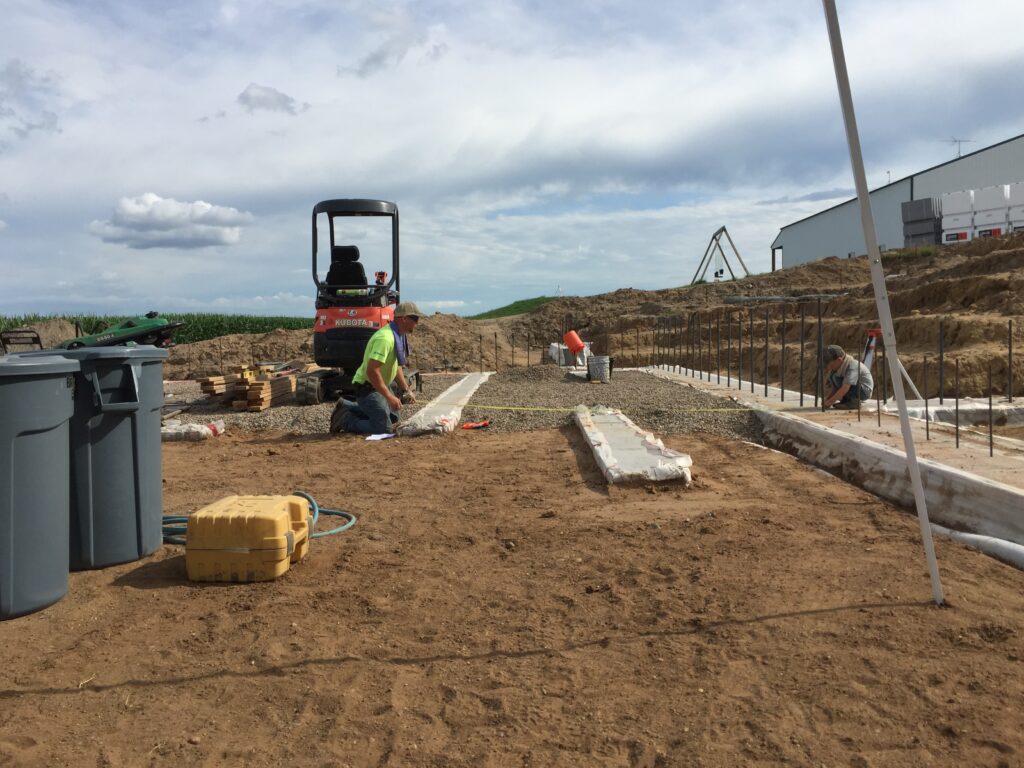
1/27/2025- Prepping the Footings
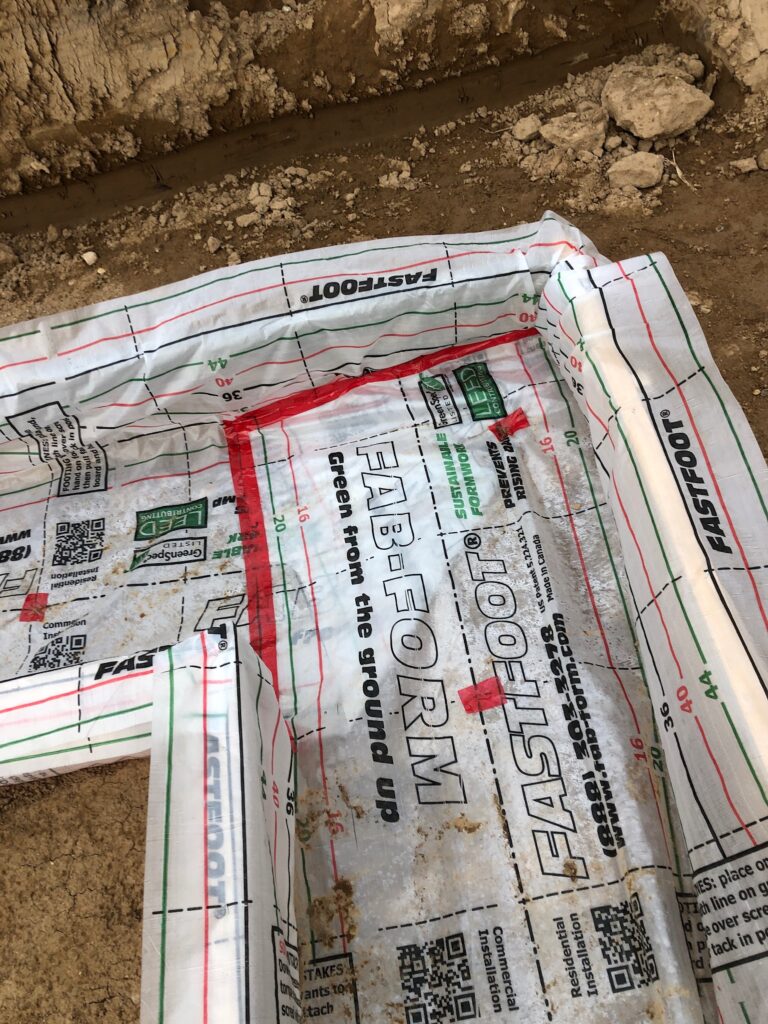
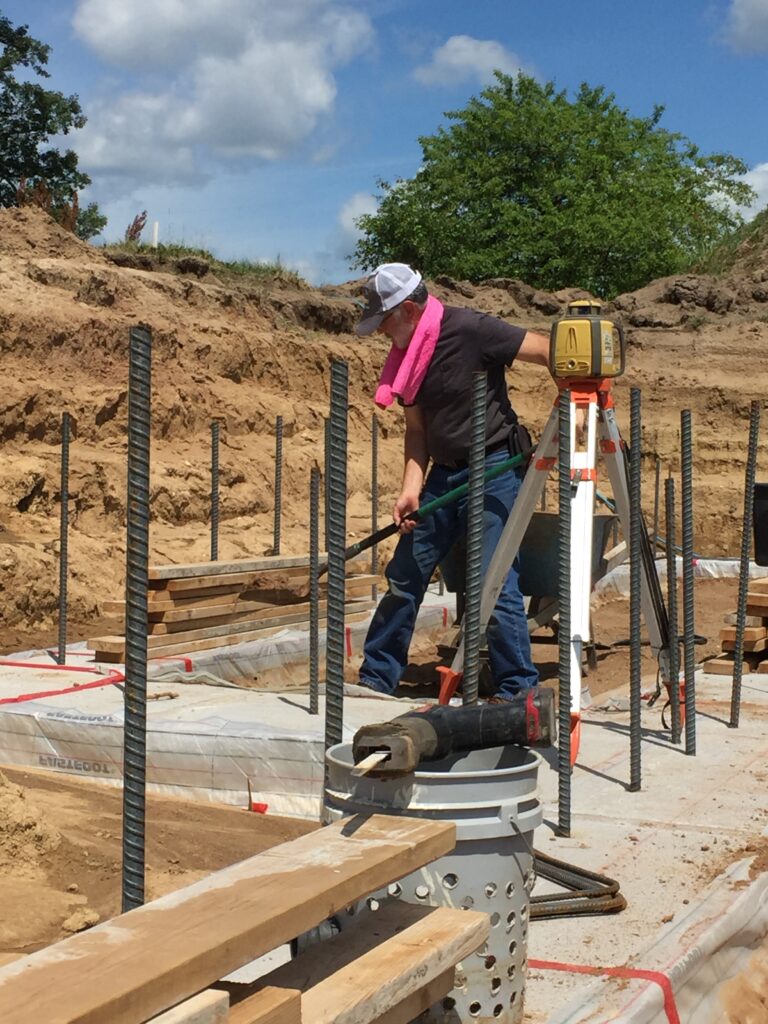
In the hot summer sun of June 2020, we started working on the footings. We had a family friend do the excavator work and the family jumped in and helped form the footings. The funniest and the most frustrating memory I have about this step of the building process was figuring out how to install the Fastfoot. As you can see from the photos, we built the wood framing for the footings and then installed a high density polyethylene fabric called Fastfoot (go to link to read more about the benefits). Fastfoot replaces the need for using lumber and plywood to form the concrete footings. Joe, my husband, put my sister-in-law and I in charge of installing the majority of it. Our method to the madness was quite interesting. One of us would get on our hands and knees, resembling a stretched out frog, spreading the Fastfoot on the ground slightly wider then the wood stakes and the other stretching it up and over the top horizontal boards and stapling it in. The laughter made it bearable and there was the occasional, “why me?” moments as well but we managed to get it done. Once the Fastfoot was installed, we laid the rebar inside and made sure everything was secure and ready for concrete.
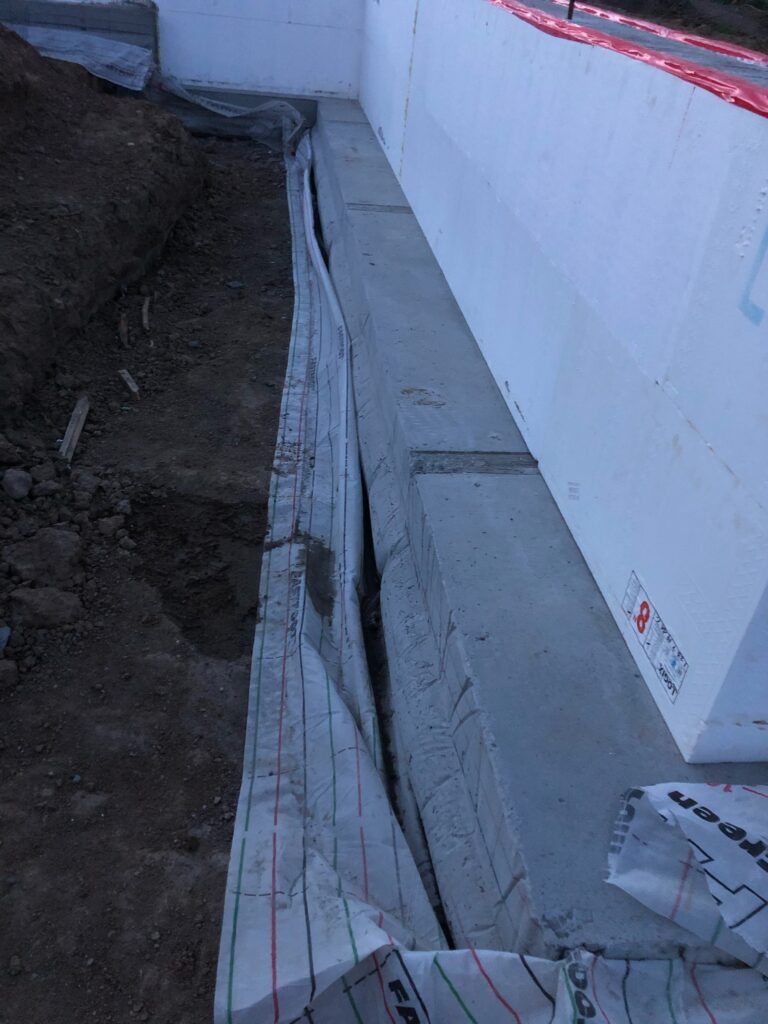
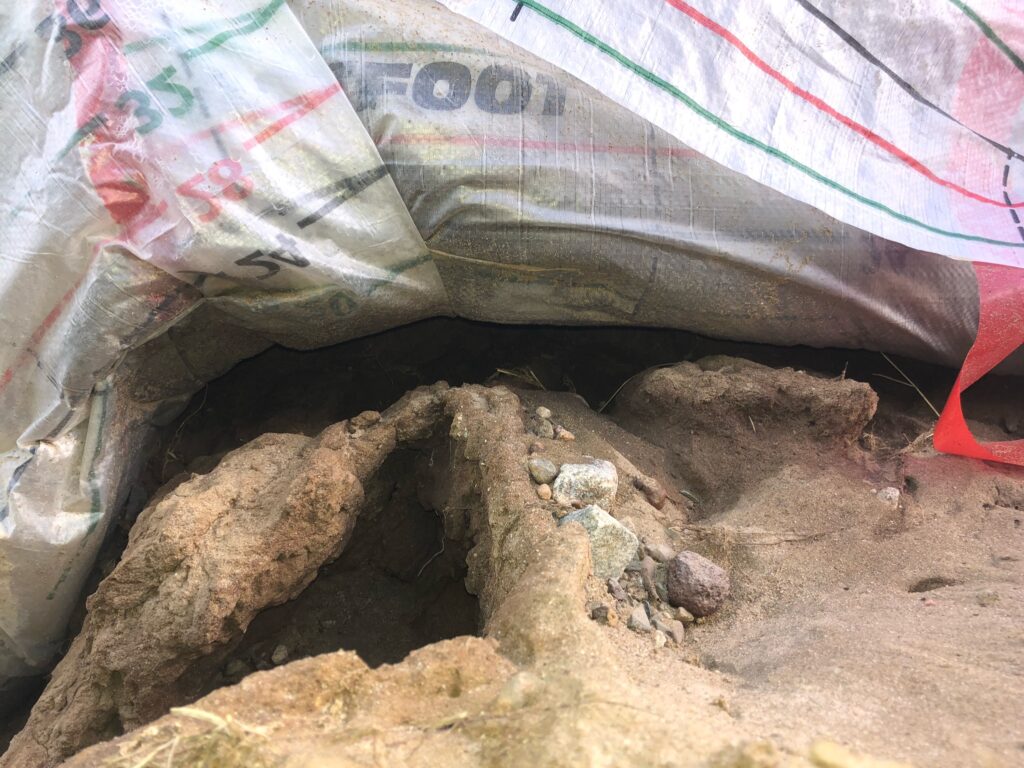
We did run into some problems afterwards though that needed to be fixed. One of the purposes of using Fastfoot is preventing groundwater from getting into the concrete. When we took off the wood form, the Fastfoot was not staying up on the concrete (see image above). So, I drilled holes in the concrete using a rotary hammer drill and secured the Fastfoot by pounding in a nail into the holes. The other issue we had was that the dirt under the stepped footings was washing out taking away the support under the concrete. My husband ended up putting cement underneath to remedy that issue. In the end, we would recommend this product.
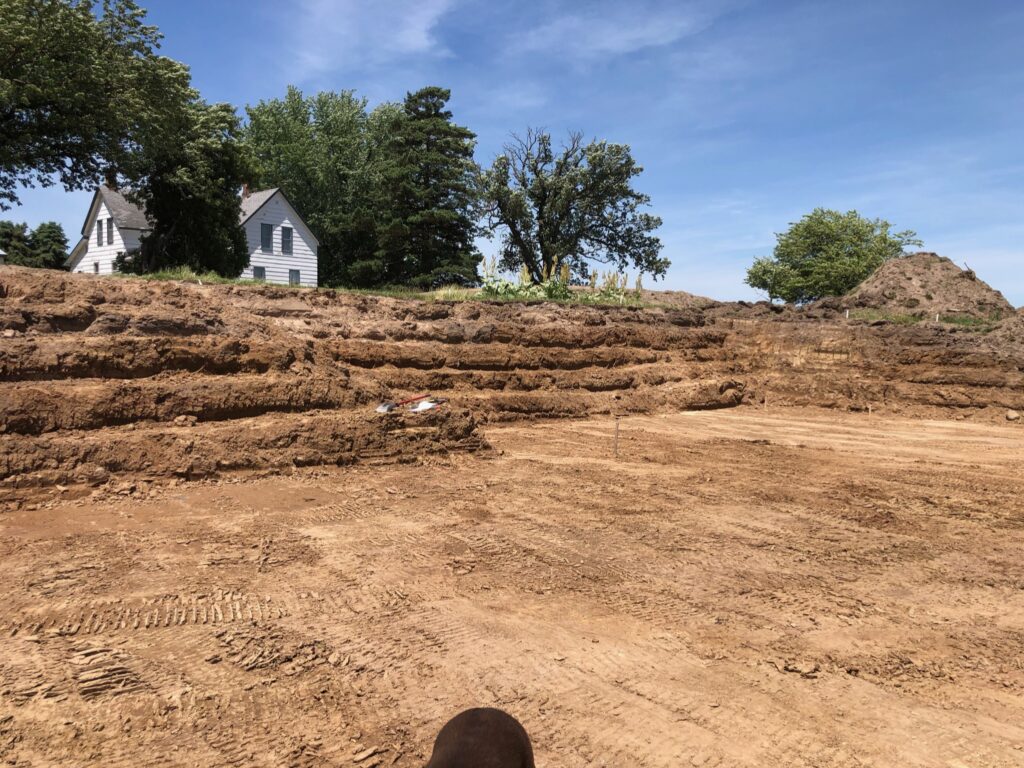
3/3/2025- Hot Summer Days in July 2020
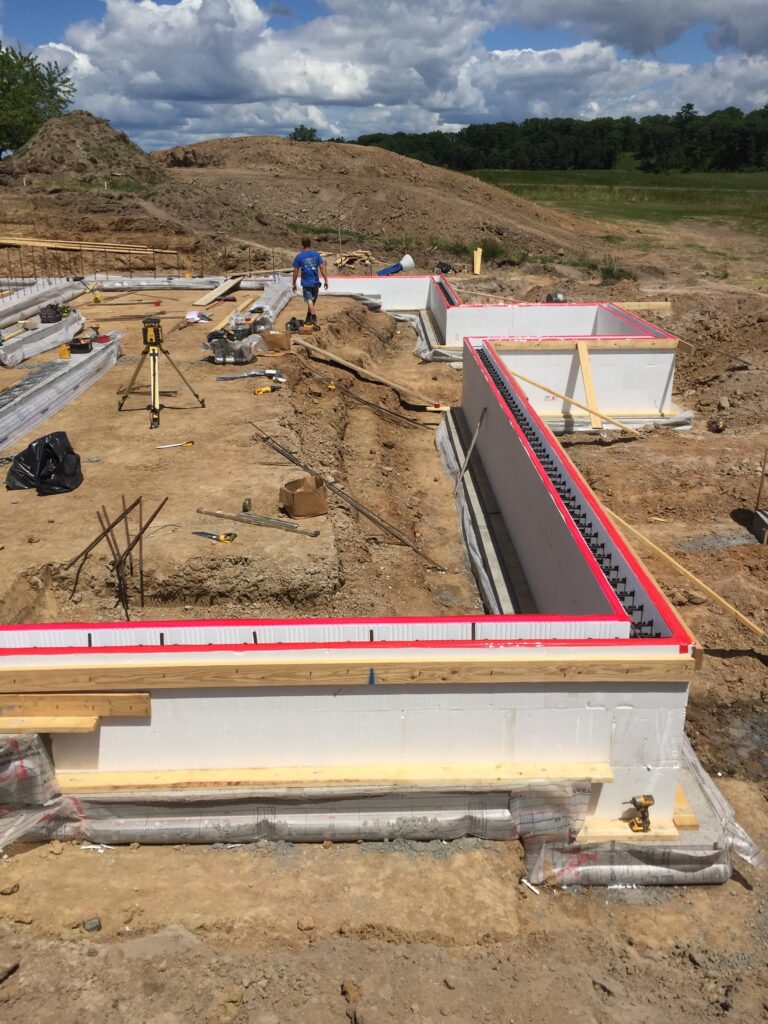
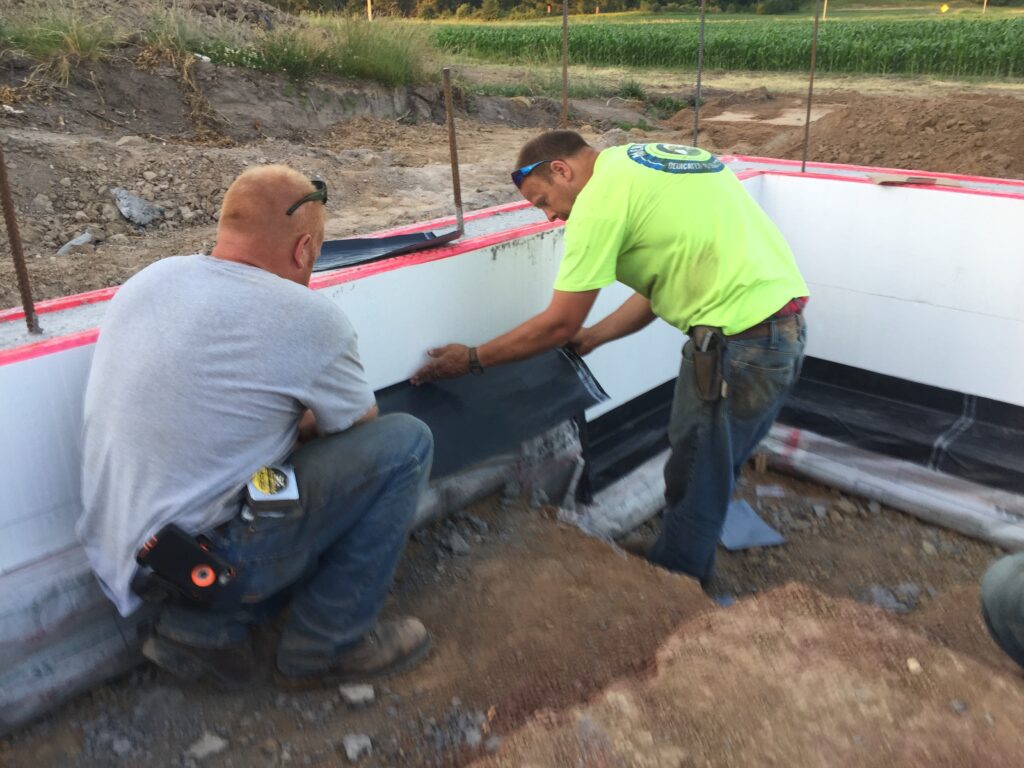
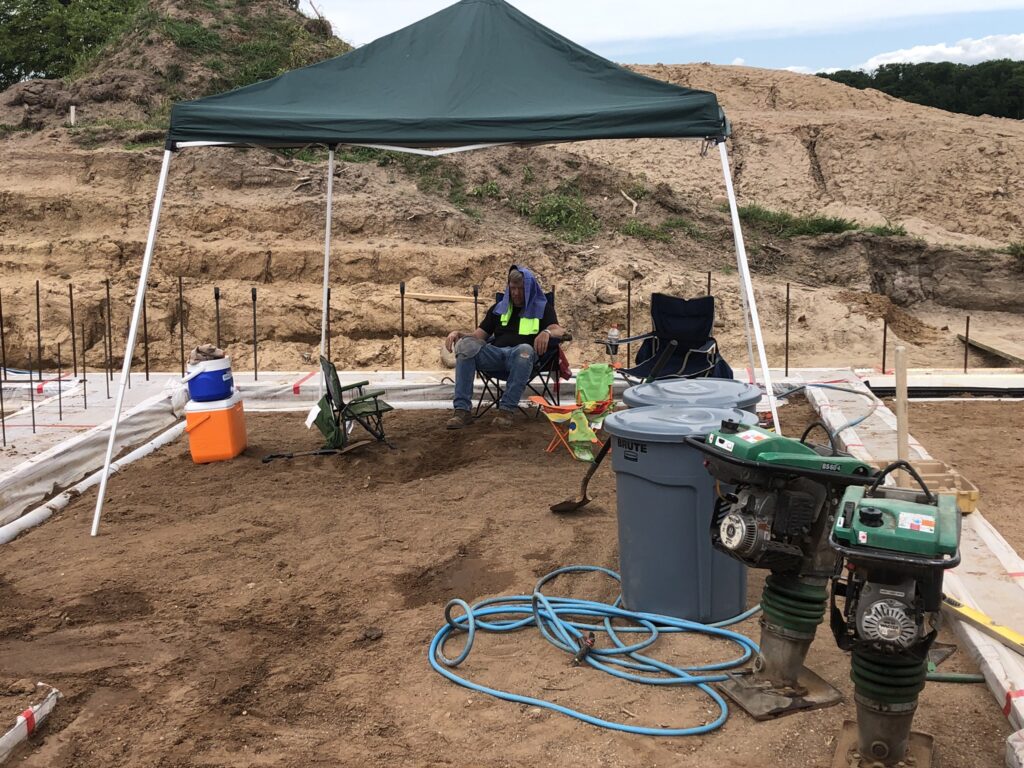
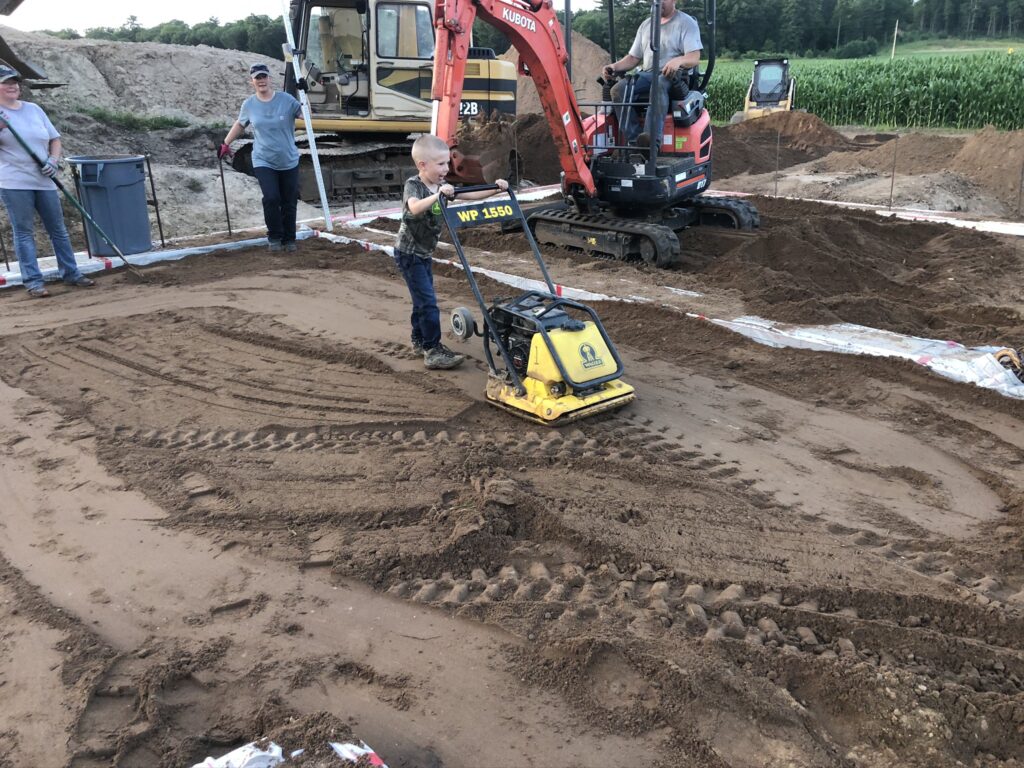
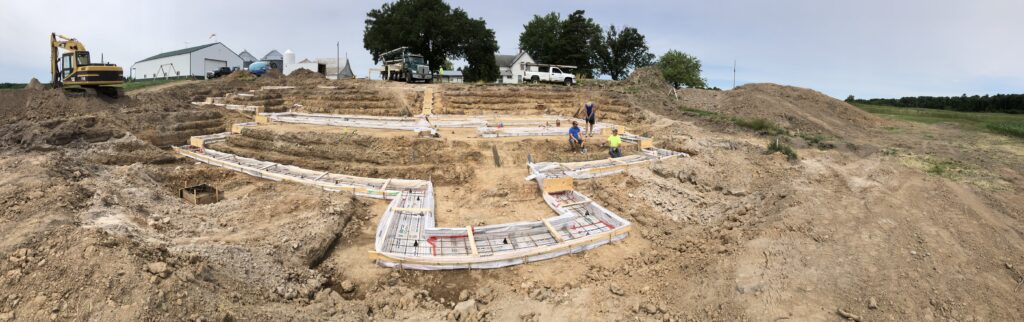
After the footings were poured, the next step was to pour and waterproof the foundation wall, backfill, and add rock. We also finished installing the piping to the septic, which was started when we were prepping the footings, and added drain tile. This step was pretty grueling because we did it in the middle of July and it certainly wasn’t a mild summer.
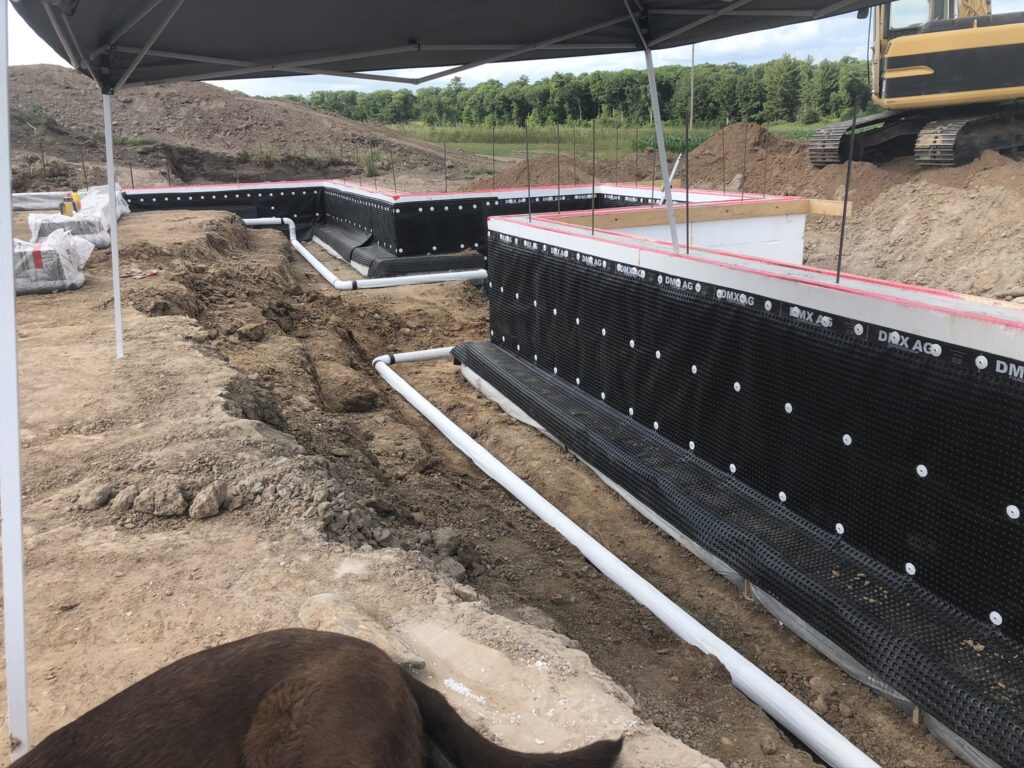
Once the foundation walls were poured, we applied a waterproofing called Mel-Rol. Mel-Rol is a flexible, bituminous (a substance derived from petroleum, coal, or natural deposits), waterproofing membrane that we applied to the inside of the foundation wall. It was a fairly easy product to work with, however, it was difficult to apply it on a hot summer day because it was sticky and black. So, we figured out that we needed to measure what length we needed, cut the sheets in the shop and keep them in a shaded area outside. Once you applied it to the wall then you needed to roll it on to make sure it was adhered to the wall completely. After the Mel-Rol was applied we then installed another waterproofing product over the Mel-Rol called DMX AG Foundation Wrap aka dimple. “DMX AG™ creates an air gap between wet soil and your basement wall, allowing the poured concrete walls to breathe. It also provides a clear negative side drainage path to disperse any ground moisture that might find its way behind the membrane. Wet soil never touches the wall next to your living space, thus reducing the chances of water infiltration into the basement” (DMX Membranes Limited). It comes in a large roll that can be easily cut with scissors. We secured it to the wall with screws and plastic washers.
After the waterproofing was installed, we were able to start backfilling the dirt. We used the laser level to level the dirt around the footings and the foundation walls leaving room for the rock. We used a combination of water, jumping jacks, and a plate tamper to compact the dirt. Then we added the rock so it was level with the footings and the top of the foundation walls. The rock is a code requirement for radon.
As you can see from the photos we had lots of help from family and we couldn’t have done it without them. We also made it through with the help of Frogg Toggs, which are a cooling towel that you wear around your neck, and the shade provided by a pop up canopy.